
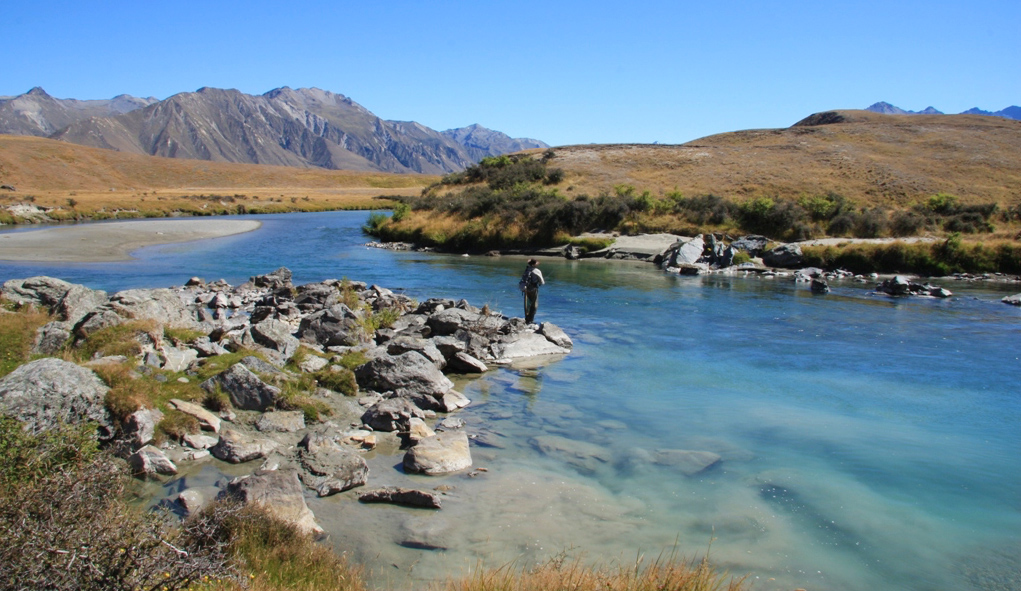
The Hot Foam Hopper was originally designed to imitate the small pale grey hoppers common in summer around tussock-lined high country streams and lakes on the South Island.
By adjusting the colours and size of the foam cylinder it can be tied to represent just about any small to medium grasshopper.
Hoppers have prominent legs that are very active as they struggle on the water. To create legs on imitations that quiver on the currents or when the pattern is twitched on slow water, you need a material that is “springy”. Stretch Cord is less springy than rubber but more so than Spanflex. It is readily kinked with a heated pin or hot-tip tool, making upright hopper legs a cinch.
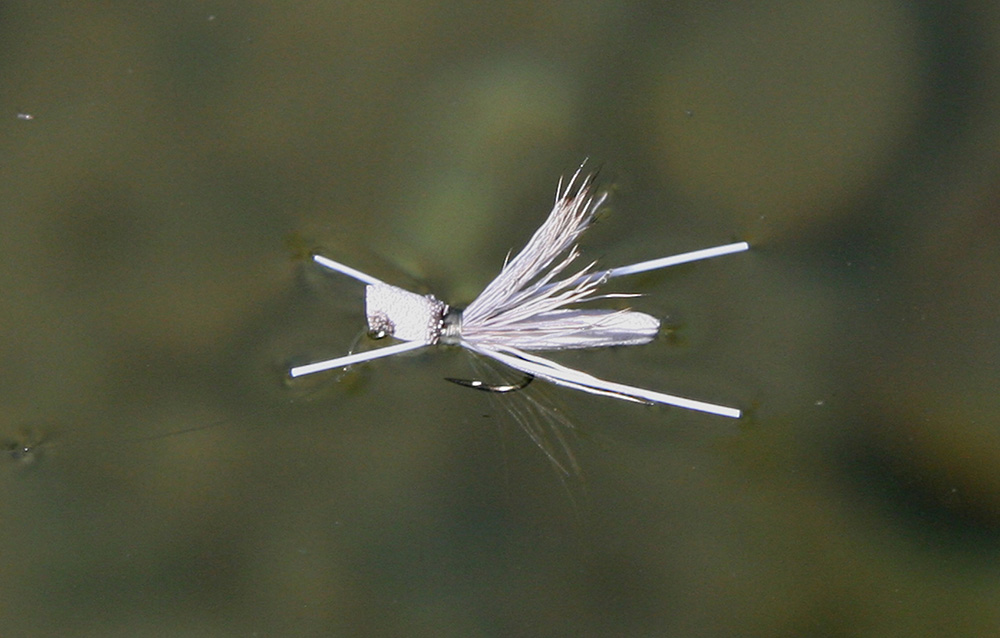
Although this durable pattern sits within the surface film with nice clean lines, as the naturals tend to do, it floats well and is fairly easy to see. Apart from having a more realistic “footprint” on the water it is also easier to cast into the wind than many bushy alternatives.
The head and abdomen of this simple pattern are crafted from a single foam cylinder. A realistic profile is achieved using gentle heat to taper the abdomen (hence the name Hot Foam Hopper). The emphasis here is on gentle; closed-cell foam is easily melted, which you want to avoid. Use the side of the flame as it is not nearly as hot as the tip.
It is essential the head and abdomen form a slight V when tied in atop the hook; if the pattern is to consistently land upright and drift in a realistic posture. The use of a curved (light wire scud) hook ensures that this is not overdone. Because the hook curves away from the foam on either side of the tie-in, it exerts less upward pressure on the head and the abdomen than a straight shank hook would do.
Grasshoppers generally drift with their wings neatly folded away. The ‘unrealistic’ hair wing on the Hot Foam Hopper ensures the pattern lands upright and is visible on the water. It also forces the head and abdomen downward slightly, reducing the V and straightening the hopper.
I use yearling Elk hair for the wing on this pattern because it is very durable and does not flair as much as deer or cow elk. Flared hair tends to project laterally, thereby spoiling the profile/outline from below. It also makes casting into the wind more difficult. Sparkle from the Krystal flash overwing often helps to pick the pattern out from amongst the bubbles on faster flowing water.
If the legs are positioned correctly they act as outriggers, enhancing both the floatation and stability of the Hot Foam Hopper. To function in this role it is imperative that all four legs are simultaneously in contact with the surface film when the hopper is both riding upright and with sufficient foam below the surface to render it positively buoyant.
The legs therefore need to be in one horizontal plain which intersects the V about midway up. If the legs are positioned too low the weight of the fly will eventually force them beneath the surface where they are not longer effective as outriggers.
Fortunately it is easy to fine tune the position of Stretch Cord legs by aggressively pulling on them, as long as you do this before the Superglue is added. I generally grab both legs on one side (with opposite hands) and either pull both upward or downward or one up and one down, until I get them just right.
A final word on floatation: Treat the entire Hot Foam Hopper with paste floatant before fishing it. Closed cell foam cylinders have a layer of open cells on the surface (see images), which eventually fill with water if you do not seal them.
Recipe :
Hook: TMC 2487 size 12
Thread: UTC 140 denier; gray/brown for short horned hoppers and yellow for locusts
Body and Head: 1.8cm length of light grey or tan medium density foam cylinder with a diameter of 3.0 - 3.3mm.
Wing: Medium dun or natural yearling elk hair
Overwing: Three strands of pearl Krystal flash
Legs: 2x3cm strands 0.5-0.6mm Stretch Cord; white for New Zealand short horned hoppers and black, brown or red for locusts.
Eyes: Black permanent marker
Note: This pattern can be modified to represent just about any grasshopper. To tie a slightly larger version use a 2.0 cm length of 4mm foam cylinder and a size 10 hook. Use black materials to tie the Hot Foam Cricket.
Tying Steps :
See instructions for Cutting Hot Foam Cylinders - if you don't have shop bought foam cylinders.

Step 1
Using a candle or cigarette lighter gently heat one end of the foam cylinder and then roll it between thumb and forefinger to create a taper. Too much heat will melt the foam. Apply a little more heat about a third of the way along and roll again to achieve a tapered abdomen. Repeat these steps until you achieve the desired shape. Then trim the head (thicker) end of the cylinder at a slight angle.
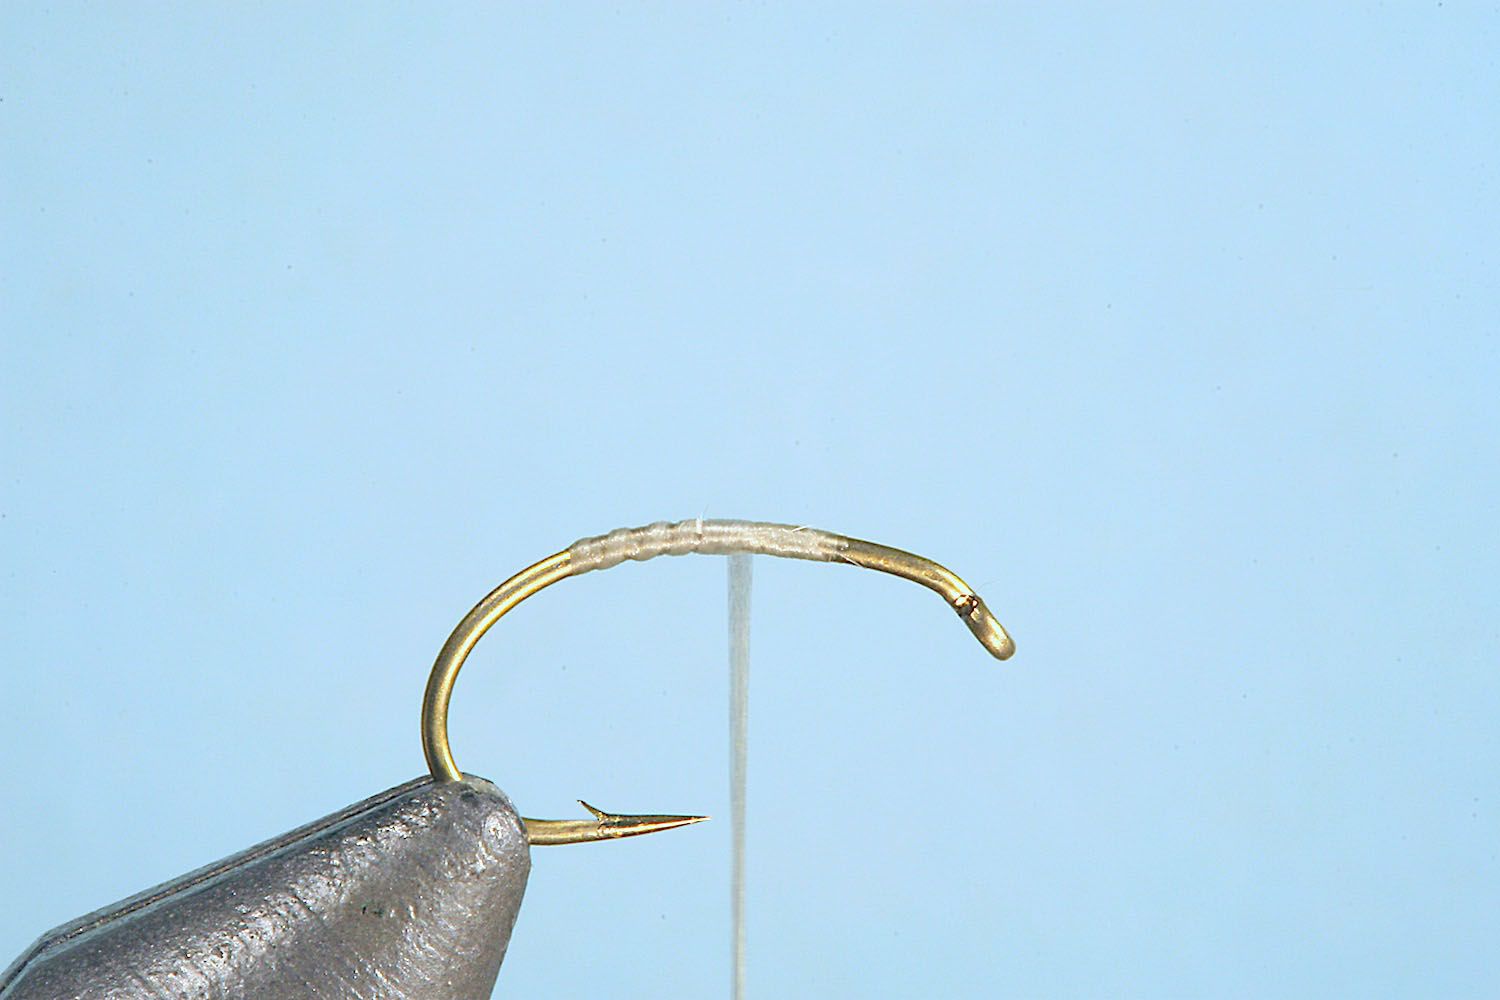
Step 2
Attach the thread to the hook about 3mm behind the eye, wind it backwards in closed turns to a position just above the barb and then advance it in open turns to a position 5mm behind the eye and just ahead of the hook point.
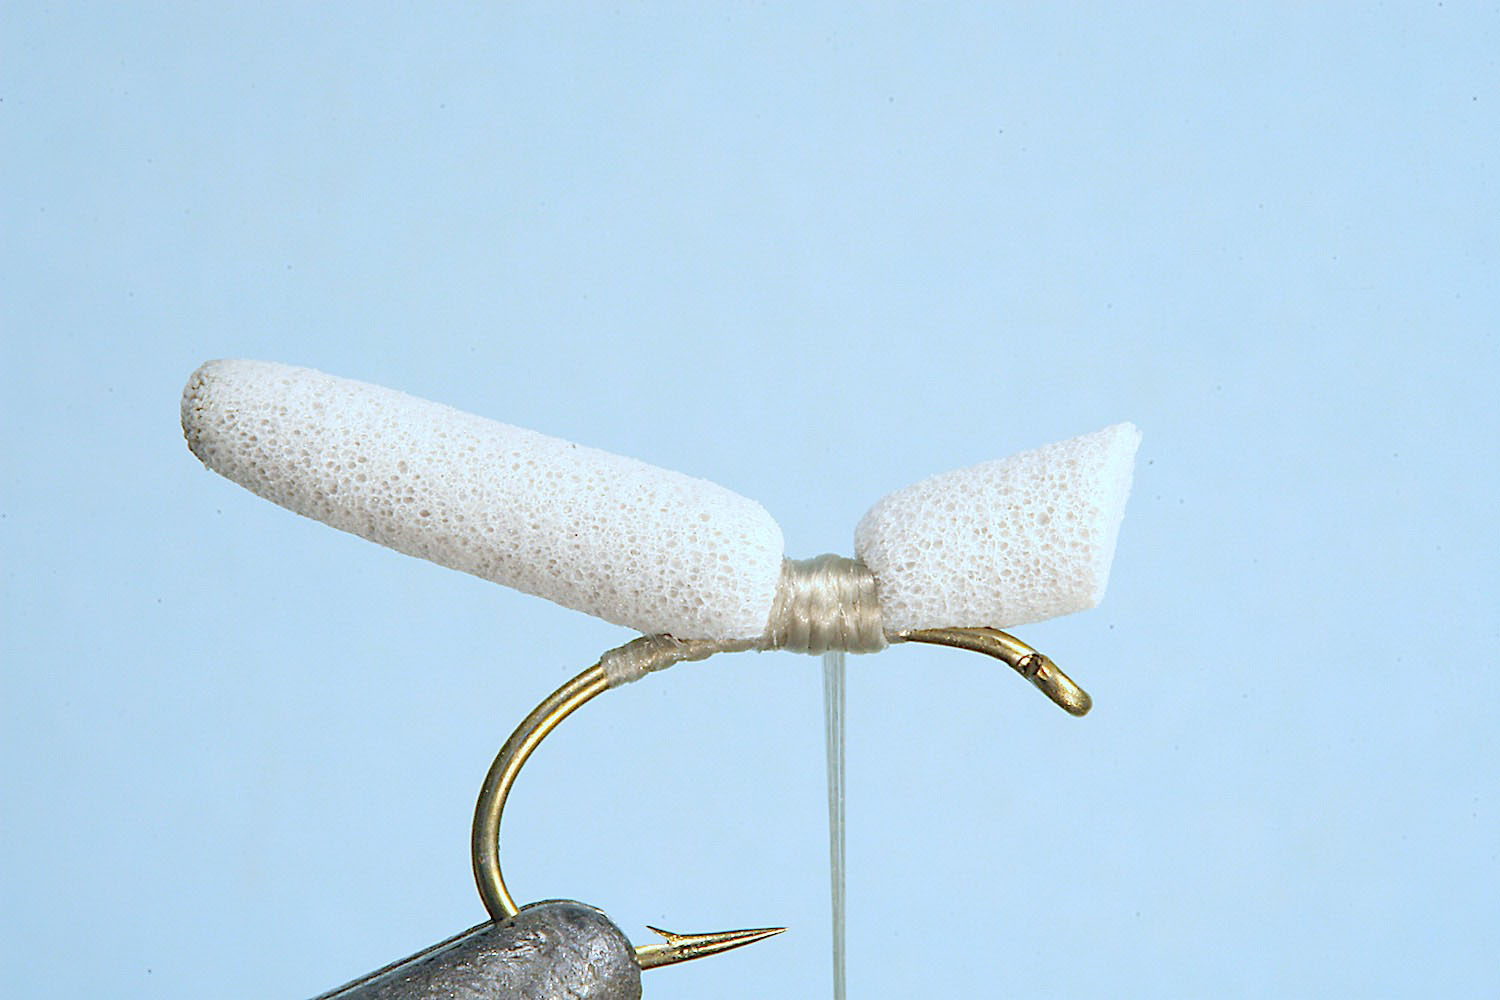
Step 3
Cover the thread wraps with a drop of super glue and then bind the cylinder atop the hook shank with about 15 thread wraps, moving forward a distance of about 2mm. Make sure that the bottom (shorter) edge of the cylinder ends immediately above the hook eye.
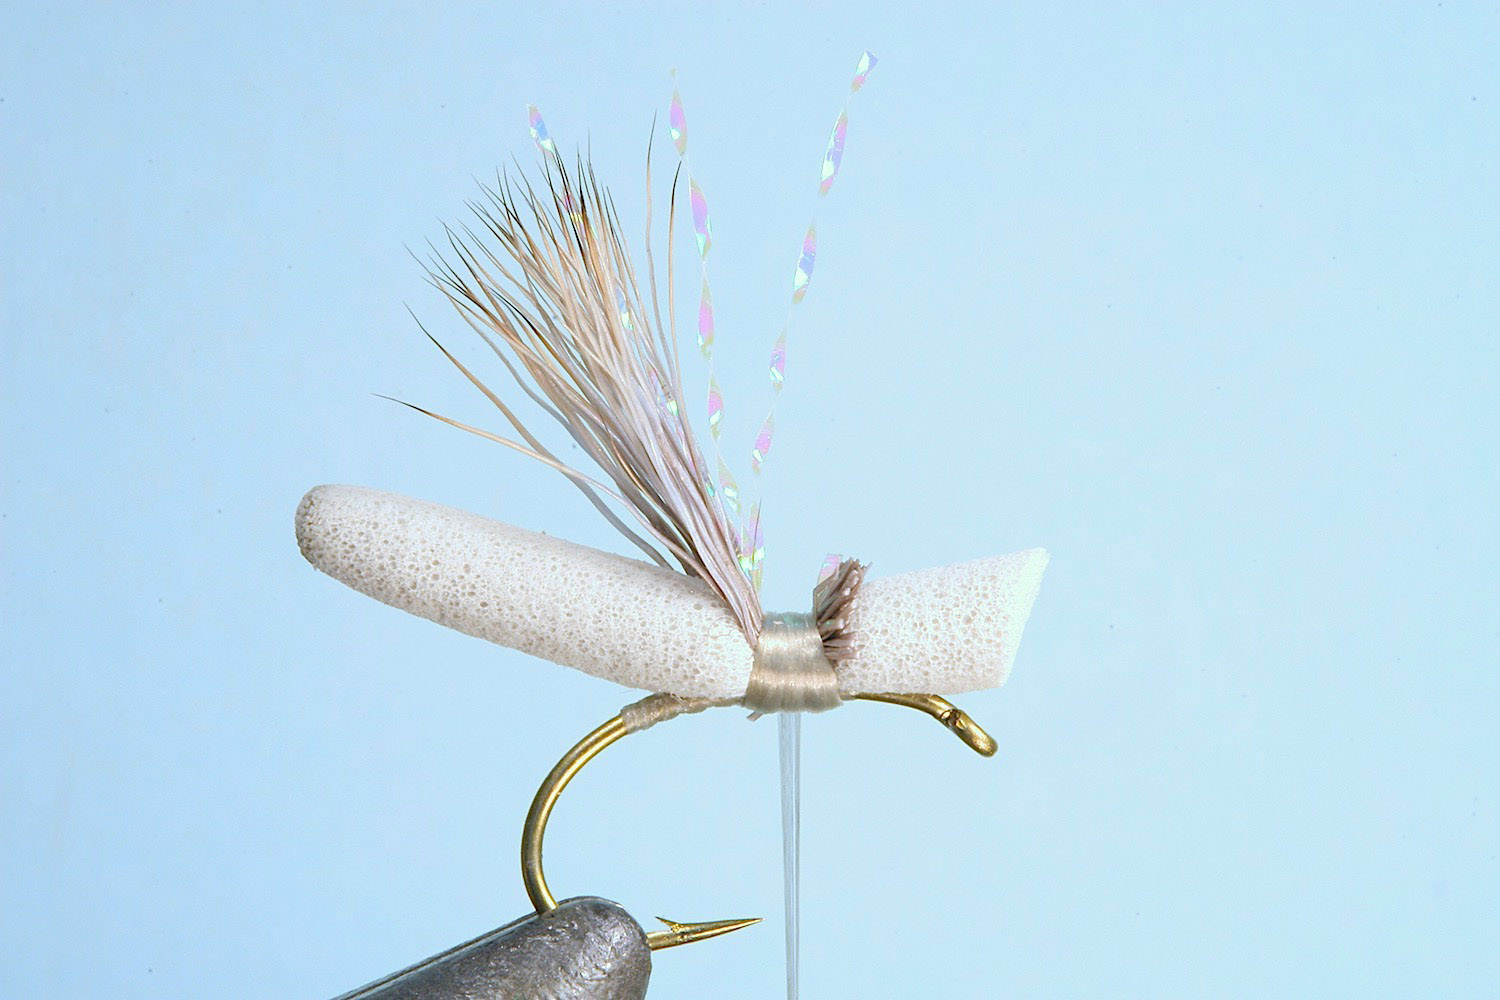
Step 4
Stack a clump of yearling elk hair and tie in a wing about the length of the abdomen. Prevent the wing from flaring by pinching the hair clump laterally between thumb and forefinger when tying it in. Trim away the excess hair and tie in the three strands of Krystal flash.
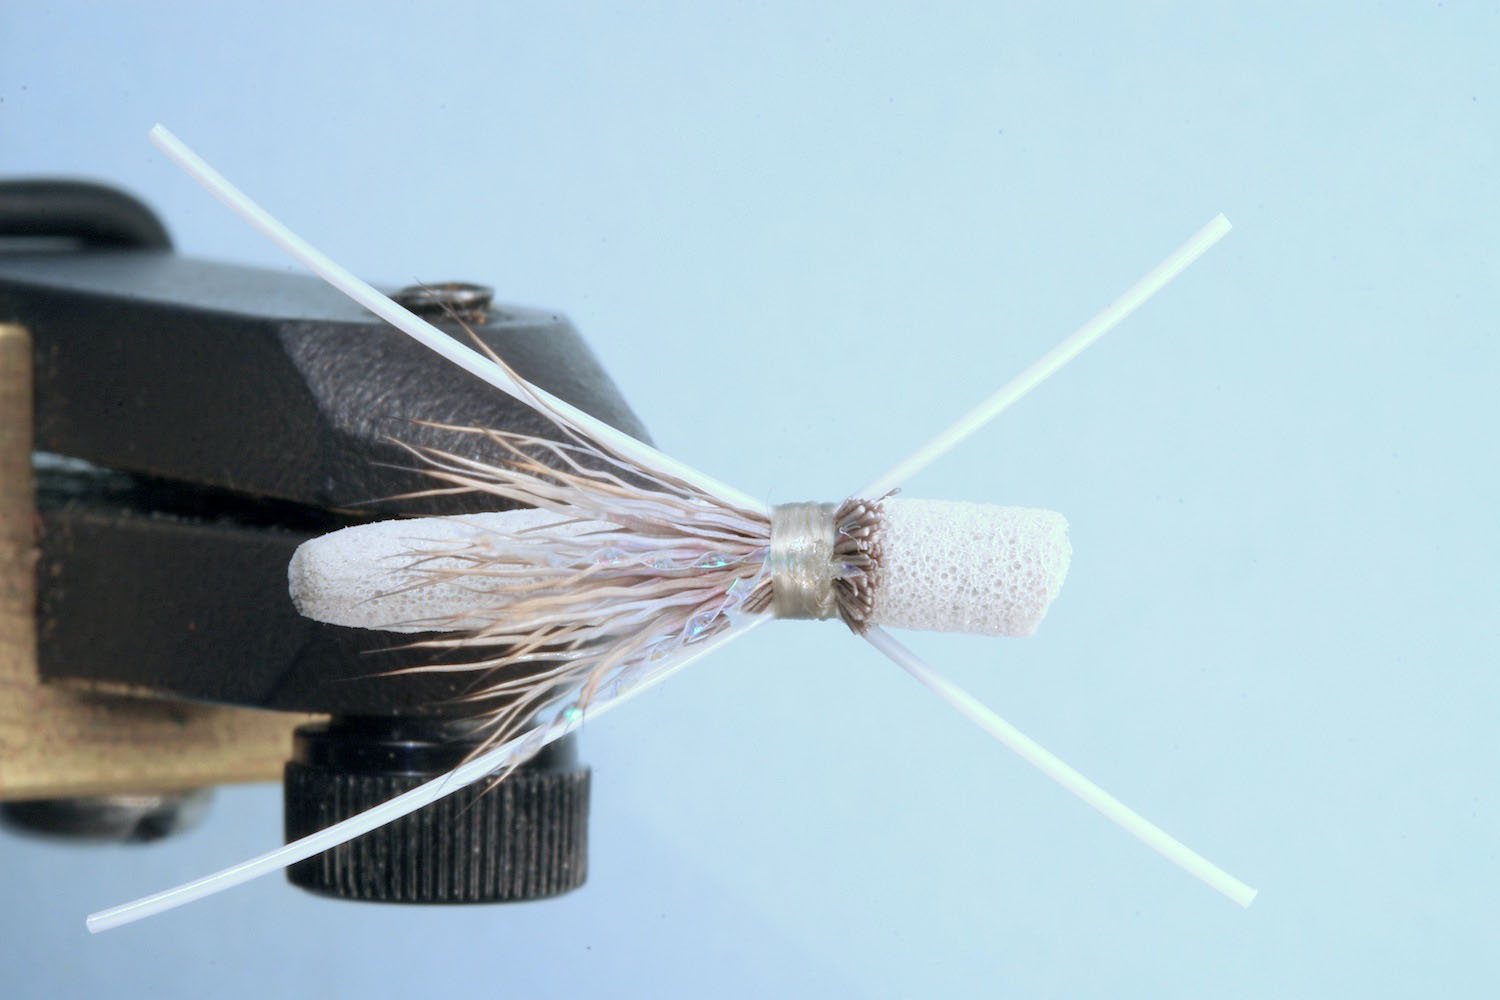
Step 5
Tie in the Stretch Cord legs, one on either side, using sufficient torque to cause them to stand away from the body. Half hitch and ensure the legs are positioned in one horizontal plain that intersects the shallow “V” about midway up. Adjustments are made by pulling on them. Now apply a drop of superglue to the under-surface of the thread wraps before casting off. Try not to get any glue on the legs.
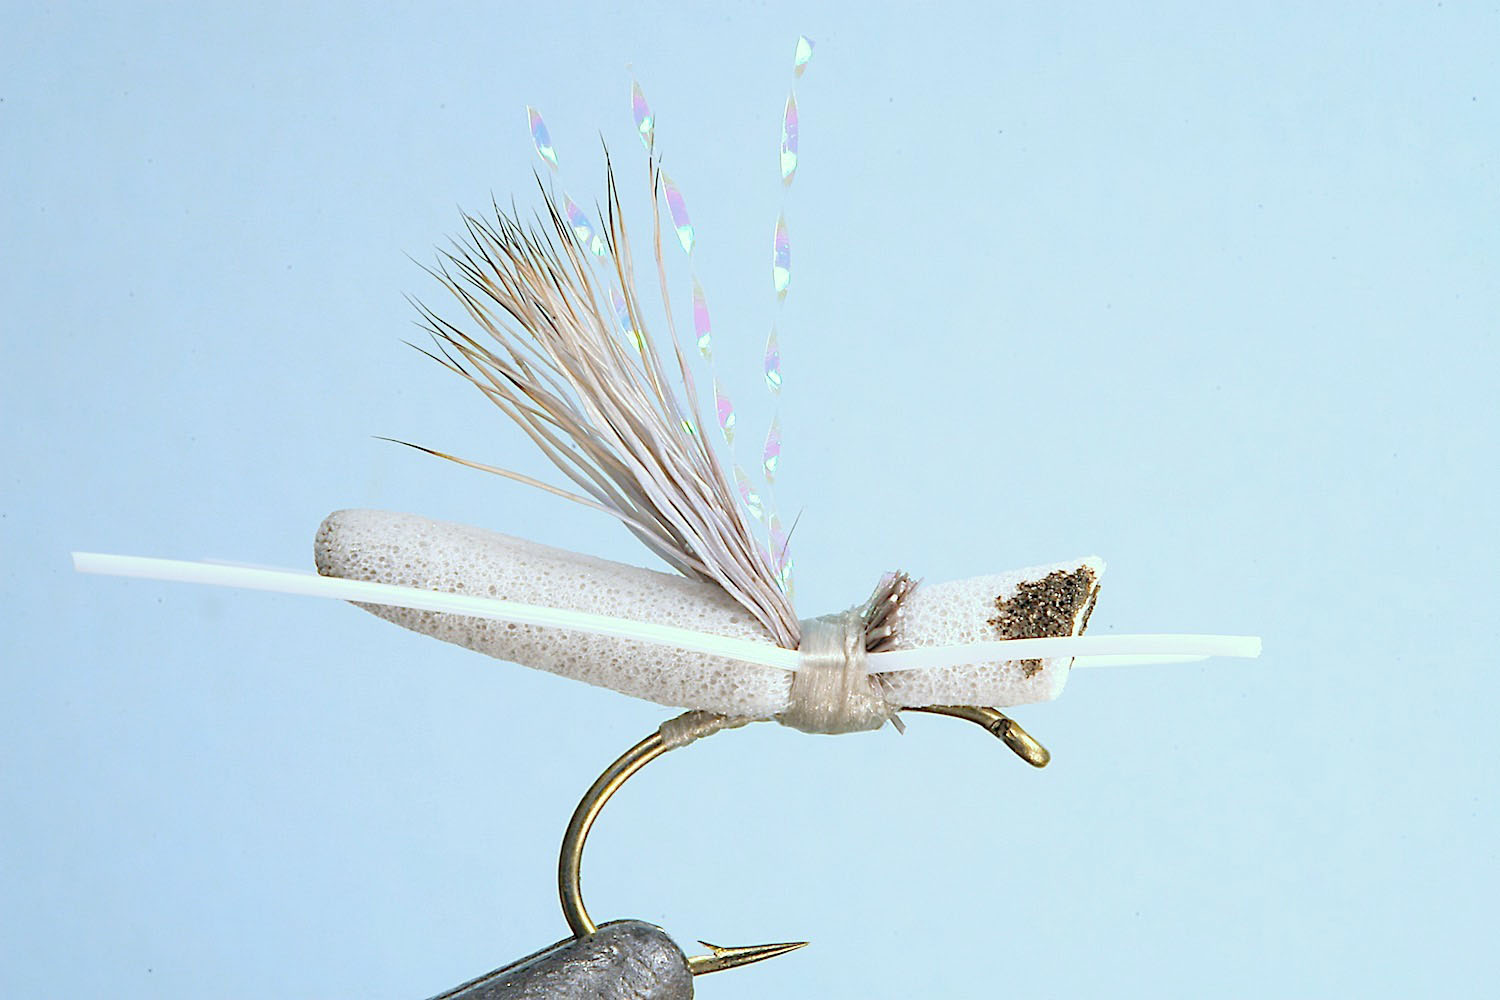
Step 6
Finally trim the legs to the desired length and create the eyes (and any abdominal segmentation required) with a permanent marker.
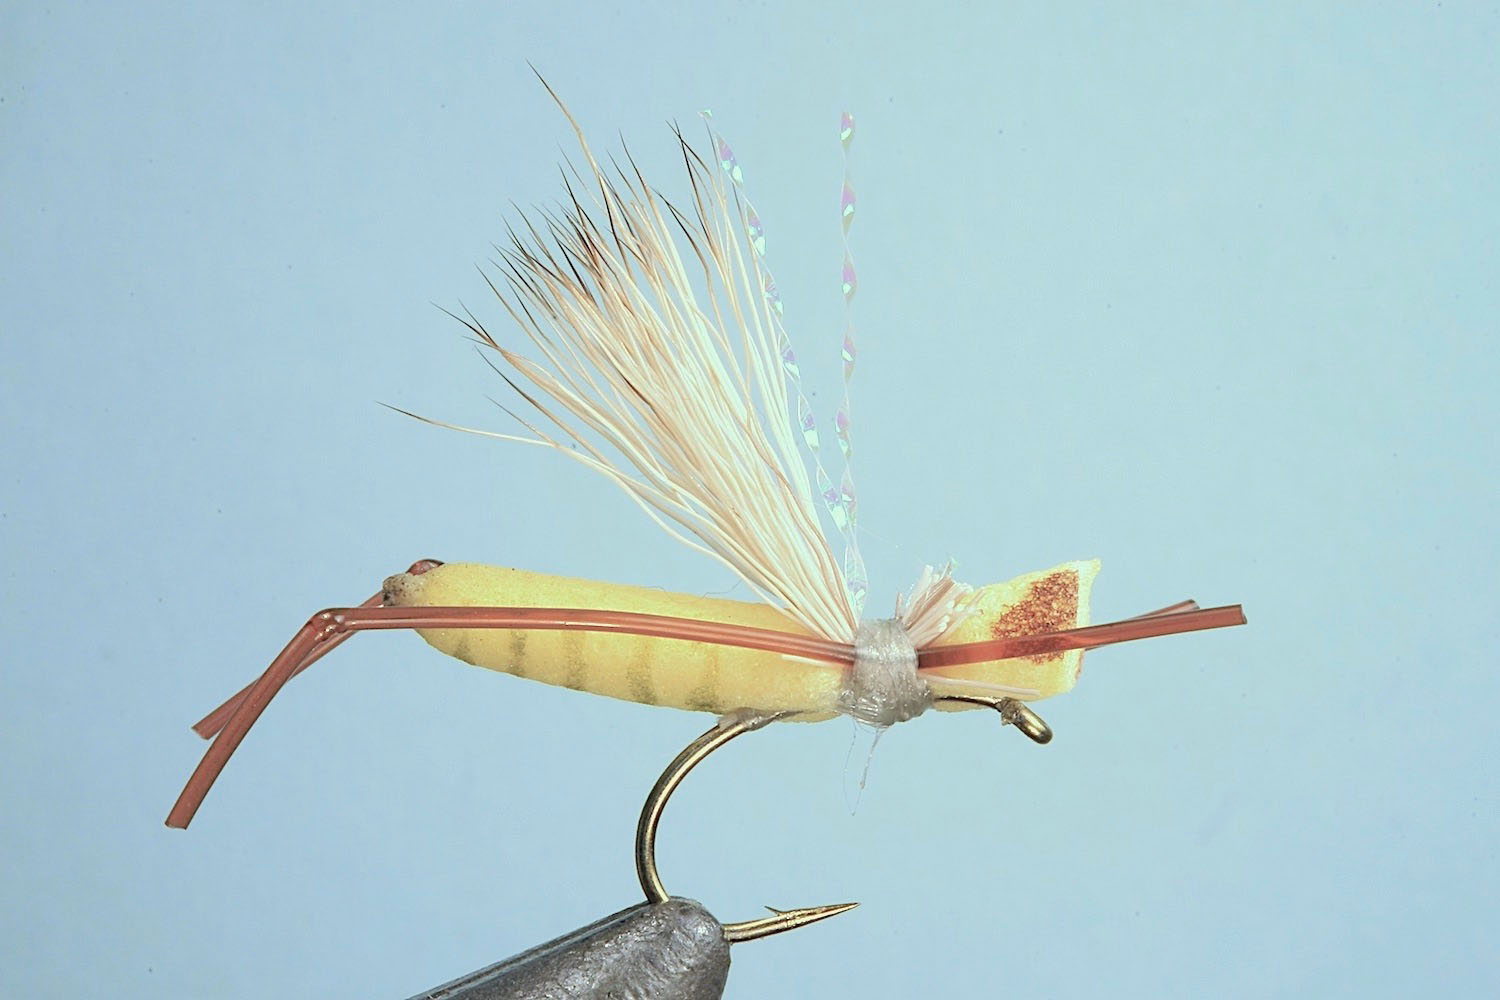
Step 7
This yellow hopper has kinky brown legs and olive abdominal segmentation. Bend each leg according to the method described in step 9 of the JLC tying sequence.
+ Effective Spey flies for New Zealand Trout and techniques for fishing them
+ Evolution of the Swing Minnow - A deadly Trout Spey Streamer
+ Introduction to wonders of Stretch Cord
+ Jelly Midge
+ Jelly Bloodworm and Jelly Grub
+ Jelly Caddis
+ Jelly Leg Colly
+ Jelly Bellow Minnow
+ Jelly Crimp Nymph
+ Hot Foam Hopper
+ Silicone Wing Cicada - Designing the Fly
+ Silicone Wing Cicada - Tying Steps
+ Gurgle Pop Minnow
+ Cutting your own Foam Cylinder